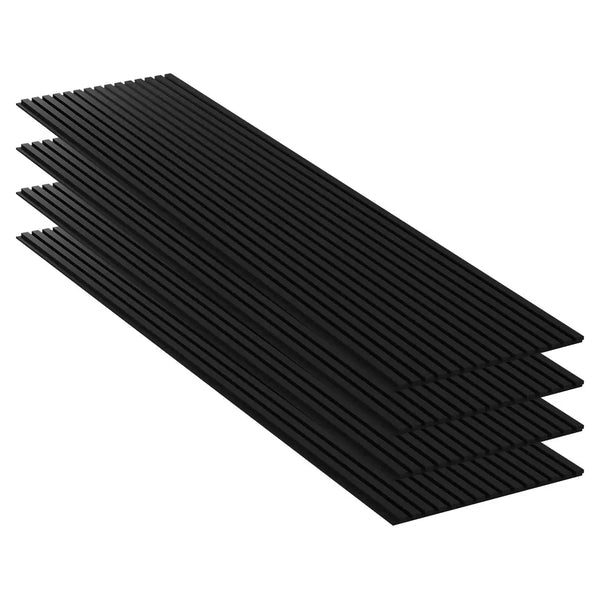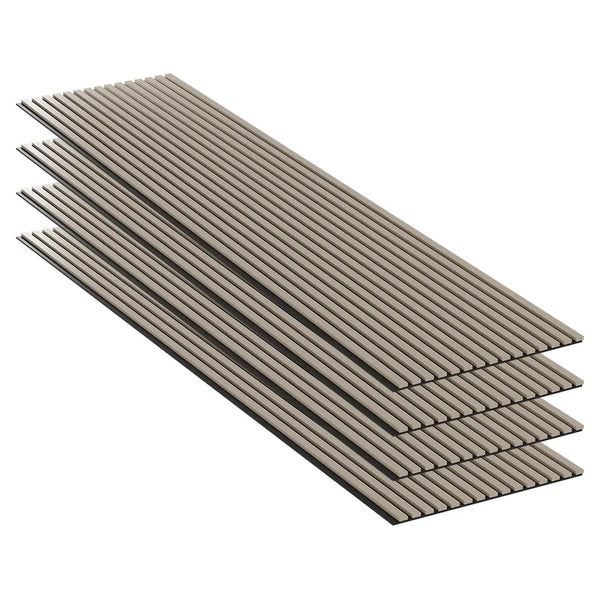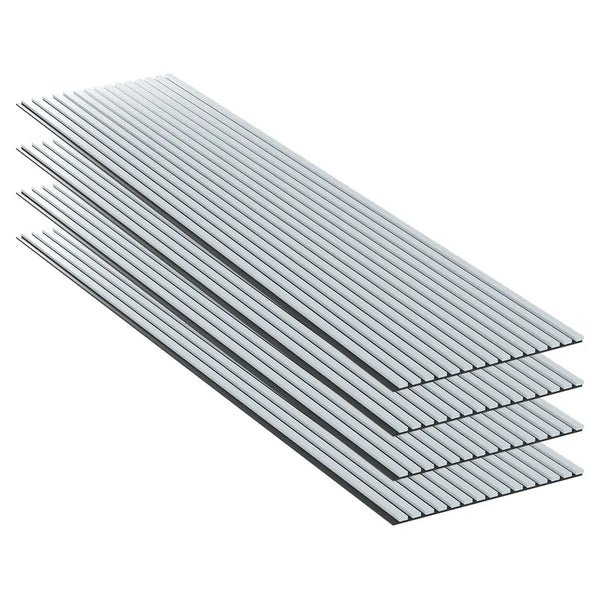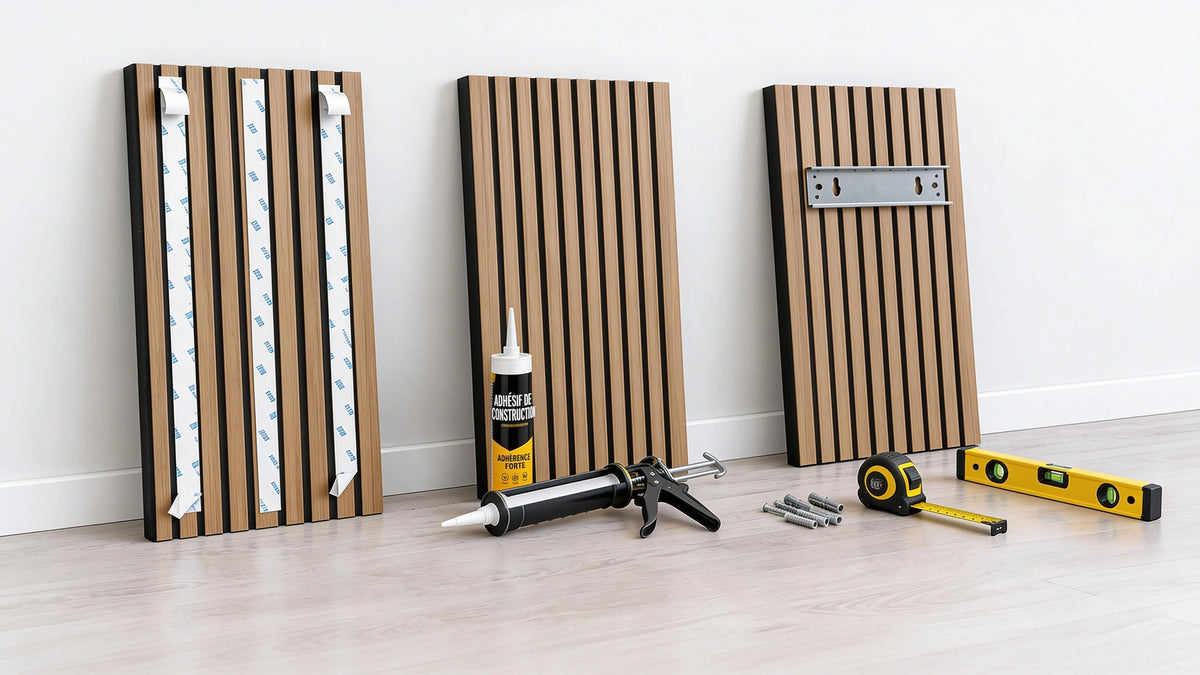
The panel is chosen, the finish is pleasing, and the wall is waiting. Then comes the question that avoids most unpleasant surprises: how will the panel be held on the wall? An adhesive installation, a bonding or a screwing do not meet the same constraints, nor present the same risks for the substrate.
The right choice depends on the panel, its weight, the available surface and the room’s use. A decorative absorbing panel can reduce echo, but its mounting does not turn a wall into sound insulation. To compare finishes, available sizes and accessories, the acoustic panel collection is a useful starting point, to be completed with the guide Wood, PVC or marble, which panel to choose and MPDiscount’s layout advice.
Choose the mounting method from day one
You have the panel in hand, you like the finish, and the wall seems ready. Yet it is the mounting that must be validated before purchase, not at the moment you take out the glue or the drill. That is where long-term holding, the condition of the substrate after removal, and the real time spent on installation are decided.
I always look at three points before ordering. First, the panel’s back face. Some models are designed for a specific mounting, others allow several options, but not without conditions. Next, the substrate, because a painted wall, a plasterboard, a concrete wall or an existing covering do not react the same way. Finally, the room’s use. A quiet bedroom, a corridor, a workplace or a high-traffic area do not impose the same safety margin.
This check avoids the classic mistake: choosing a panel based on its appearance, then discovering that the appropriate mounting method will damage the wall, require more preparation than expected, or will not be compatible with the substrate.
The right question is therefore not only “which panel to choose?”, but “how is this panel supposed to be mounted here, on this specific wall?” If the answer remains unclear at the time of purchase, stop and verify.
Reference texts recall the same logic: a mounting must remain stable, suited to the substrate and not degrade the work unnecessarily. This approach is consistent with good implementation practices.
In practice, the mounting method is decided with the panel, not afterwards. That prevents rework, failed removals and misdirected purchases.
Three mounting methods for three different projects
An adhesive mounting that fails almost never falls on the day of installation. It holds at first, then gives way later because it is not the adhesive that failed, but the paint layer, the facing or the covering left on the wall. On a light panel and a clean project, it can be suitable. On an old or uncertain substrate, it is often the wrong bet, especially if you want to avoid a partial removal a few weeks later.
Bonding meets another need. It is used when you want continuous support behind the panel, without multiplying fixing points. In practice, its classic flaw is not the absence of glue, but poor distribution, poor support during curing, or a substrate that soaks in at some places and refuses adhesion elsewhere. The result can be hollow-sounding areas, edges that lift, or a panel that never really lays flat. I mainly use it when the project is stable, removal is not a priority and the substrate has been seriously checked.
Screwing, for its part, forgives more on less-than-perfect sites. If the wall has irregularities, if the panel is heavy, or if the area will be touched, rubbed, or stressed over time, it is often the technically cleanest solution. Its drawback is known: you must drill accurately, accept visible fixing points or treat them, and think from the start about maintenance or replacement of an element.
Practical rule: before buying, ask yourself less whether you like the panel than whether it can be mounted cleanly here, with adhesive, bonding or screwing, without rework behind it.
What the mounting cannot do
A decorative acoustic panel acts on sound reflections in the room and can improve local visual and auditory comfort. It does not replace insulation between two spaces. The difference between acoustic correction (absorption) and the performance of the structure (insulation) must remain clear.
Adapt the mounting to the substrate and the installation location
A perfectly flat and sound wall more easily accepts an adhesive or bonded installation. You must nevertheless remove dust, grease marks and friable parts, then check that the paint or covering does not lift. The panel must be presented dry before application to check joints, levels and any cuts.
On an irregular wall, bonding can leave poorly adhered zones. Screwing then becomes safer, provided anchors are chosen according to the substrate. A light partition or thin plasterboard requires particular attention: the panel’s weight must not be carried by an inappropriate fixing.
The room also influences the choice. In a corridor, a lobby, a shop or a busy professional space, more consistent mechanical holding can justify screwing. In a lightly used residential room, an adhesive or bonded system may be suitable if the product sheet provides for it.
Prepare the wall before installation
- Examine the covering. Flaky paint, powdery plaster or wallpaper that peels off are not a reliable base.
- Clean and dry. Dust and humidity reduce the adhesion of glues and adhesives.
- Check flatness. A long straightedge makes it possible to detect hollows that would prevent regular contact.
- Locate services. Before any drilling, embedded pipes and cables must be identified.
- Check the product sheet. A decorative reference is not automatically self-adhesive.
| Substrate and use | Preferred method | Control point |
|---|---|---|
| Clean, dry and flat wall, light panel | Adhesive or bonding | Product compatibility with the covering |
| Sound wall, rigid panel or long-lasting installation | Appropriate bonding | Curing time and support during installation |
| Irregular wall or heavy panel | Screwing | Anchors, embedded services and flatness |
| Lobby, shop or intensive use | Screwing or system validated by the product sheet | Mechanical resistance and possibility of replacement |
| Sensitive substrate or expected removal | Adhesive, with caution | No guarantee of trace-free removal |
Sizes must be read reference by reference. The dimensions 240 × 60 cm, the thickness of 11 mm and lots of four panels concern only the products that explicitly state them. A reference in 21 mm is distinct and must not receive the characteristics of another model.
What to measure before validating a system
The first measurement concerns the surface to cover. The calculation must include the wall’s width and height, doors, windows, sockets and cutouts. The MPDiscount wall surface calculation guide helps avoid a mis-sized order.
The second concerns the panel itself. The product sheet must be checked for its thickness, its size, its number per lot and its mounting method. A self-adhesive reference must not be presented as a product to be screwed without clear indication, and a panel sold without adhesive must not be described as self-adhesive.
The substrate remains the weak point
An adhesive may seem to hold during installation, then lose adhesion if the wall is dusty, humid or covered with fragile paint. Bonding also requires a compatible surface and an adapted drying time. Screwing avoids dependence on the covering’s adhesion, but it transfers the difficulty to drilling and anchor selection.
Removal must be anticipated before purchase. No adhesive panel should be presented as removable without trace, because adhesion depends on the wall, preparation and duration of installation. Paint, plaster or wallpaper detachment remains possible.
Flexible adhesive panels are not suitable for a shower, a wet area or a location near a heat source. In a bedroom, a nursery, a hotel or an occupied professional space, ventilation, curing time and the indoor air emission label also deserve a check. Glues and coverings can contribute to volatile organic compound emissions; construction products carry an indoor air emission label (A+ to C) — check these details on the product sheet.
An easy-to-install mounting is not necessarily the most suitable for an occupied room. The choice must take into account the substrate, ventilation, curing time and future removal.
The composition of a true sound-insulation system is different from that of an absorbing panel. A double wall generally includes a rigid facing, a framework and an insulating layer, whereas a decorative panel mainly acts on internal reverberation. The panel’s weight and mounting therefore cannot be used to promise a measured improvement in isolation between rooms.
Distinguish absorption, insulation and chosen method
You mainly hear an echo when someone speaks, the TV sounds muffled, or you pick up the neighbour through the partition. These are not the same causes. Therefore, they do not call for the same mountings.
A decorative absorbing panel primarily treats the room’s reverberation. It does not replace an insulation system between two spaces. To frame the need correctly, one must distinguish acoustic absorption, which reduces sound reflections in the room, and sound insulation, which seeks to slow the transmission of noise from one room to another. If you are unsure about the real role of a wall covering, consult the MPDiscount absorbing acoustic panel guide.
A simple decision before ordering
| Main need | Solution to consider | Mounting to examine |
|---|---|---|
| Echo in a living room or an office | Decorative absorbing panel | Adhesive or bonding if the substrate is suitable |
| Wall covering with long-lasting hold | Decorative panel adapted to the substrate | Bonding or screwing depending on weight |
| Noise transmitted by a neighbour or from outside | Study of a complete sound-insulation system | Constructive system, not a simple panel |
| Vibrations or a stressed wall | Analysis of transmission and the substrate | Appropriate mounting, possibly antivibration |
| Irregular wall or intensive use | Mechanically retained solution | Screwing with appropriate substrate and anchors |
On site, I always make this sorting before purchase. If the client wants less echo, an absorbing panel may suffice. If they want to cut a noise that crosses a wall, a different approach is required. The mounting method follows from this diagnosis, not from the panel’s appearance.
A rigid mounting can also transmit vibrations to the wall when it directly connects a stressed element to the substrate. In concerned cases, antivibration fixings are recommended on heavy walls; this should not be generalized: not all decorative panels need to be decoupled.
The right diagnosis prevents a wrong purchase
A panel mounted on the wall can make a room more comfortable to the ear without changing the noise that passes through the partition. Conversely, a transmission treatment requires a complete set, with facing, structure, insulation and continuous implementation.
The chosen mounting must therefore remain consistent with the objective. An adhesive or bonding can suit a light panel that works on echo. For an irregular partition, intensive use or mechanical constraint, screwing holds better over time. In an old dwelling, one must also avoid degrading existing performances and preserve ventilation. A panel mounting must never be presented as a universal answer to all noise problems.
Checks before buying for a suitable mounting
You are looking at the product sheet, you like the panel, the wall is ready. This is the moment to verify the mounting, not after delivery. A good reference gives clear answers about installation. When that is not the case, I pass.
Before buying, check these points:
- Planned method. The sheet must clearly state whether the installation is by adhesive, by bonding, by screwing, or with a required accessory.
- Mounting and guarantee. Check whether the product warranty depends on the chosen mounting method. Some panels are covered only if the installation follows the instructions.
- Compatible substrate. Verify whether the manufacturer accepts a painted wall, plasterboard, a porous substrate, an old covering or an already fragile surface.
- Bonding product. If installation requires an adhesive, check compatibility between the panel, the substrate and the chosen product. The guide Glue for acoustic panel MPDiscount helps avoid a simple but costly mistake.
- Quantity and pro pricing. Beyond five units, request a tiered quote rather than adding lots.
- Future removal. An adhesive sometimes holds well, but it can mark the substrate on removal. You must accept that before installation, especially on a recent or fragile paint.
- Exact size. Check the dimensions of the ordered reference, without assuming that another panel in the range will have the same size.
- Acoustic need. Confirm that the chosen panel corresponds to the desired effect, without confusing echo correction and treatment of a noise that crosses the wall.
The MPDiscount acoustic panel range allows comparison of finishes and mounting methods. Rigid PVC marble-effect wall panels must remain in a separate category. A PVC wall covering is not automatically an acoustic panel because it is mounted on the wall.
The right purchase starts from three things: the product sheet, the actual substrate and the chosen mounting method. The look comes afterwards.