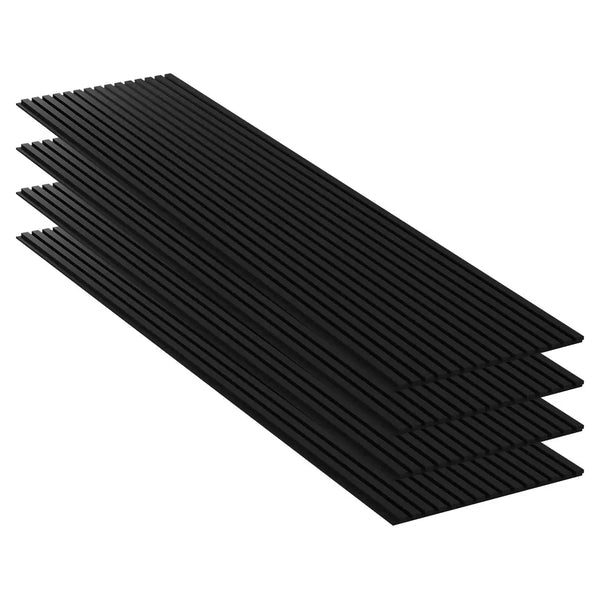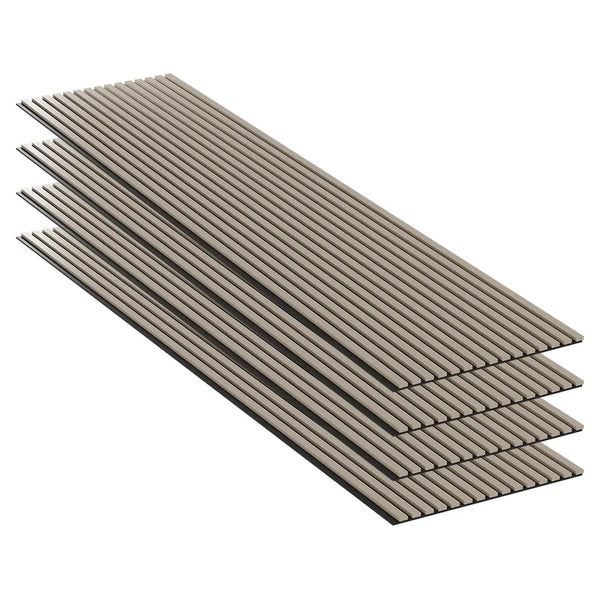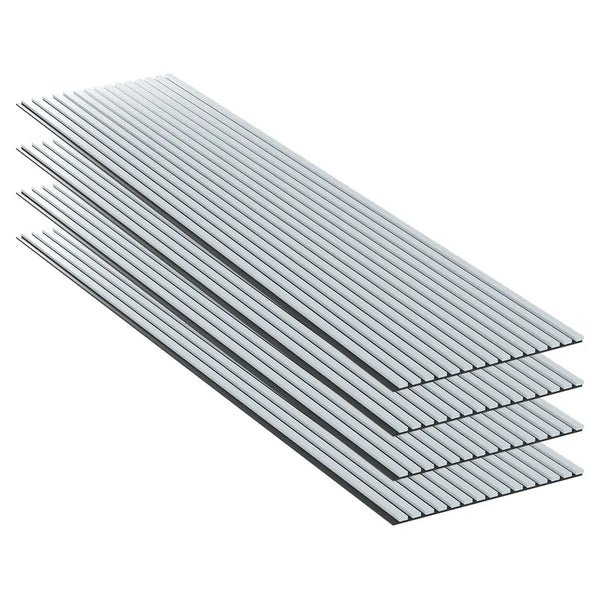
The acoustic panel has arrived, the wall looks clean, and the temptation is strong to choose the strongest adhesive on the shelf. However, detachments observed on job sites often come from a dusty, greasy, irregularly painted or otherwise incompatible substrate with the intended fastening method. The right choice therefore starts with a simple question: should the panel absorb echo in the room, or insulate noise between two spaces?
Why the choice of adhesive depends first on the substrate and the panel
An acoustic panel is generally used to reduce reverberation and echo inside a room. In a living room that rings or an office where calls become tiring, the goal is to improve listening comfort by absorbing some of the reflections on the walls. This does not prevent voices, impact noises or equipment from crossing a partition.
Acoustic absorption therefore treats the sound atmosphere of the room, while sound insulation aims to limit the transmission of noise to another room or from it. An adhesive for an acoustic panel can help keep an absorbing element properly against the wall, but it does not by itself transform a partition into a complete sound insulation system. This distinction prevents expecting a decorative covering to deliver a result that actually depends on the wall, its mass, its airtightness and its composition.
The product datasheet remains the reference for the type of fixing. Depending on the collection, installation may rely on an integrated adhesive, a glue, a silicone adhesive or screwing. The guide dedicated to acoustic panels and noise reduction helps to place the covering in its real role, without confusing echo correction and wall insulation.
The substrate before the bonding strength
A very adhesive glue will not compensate for fine dust, a film of grease or paint that peels. If the panel does not actually touch the wall over a sufficient surface, the fastening works on only a few spots. Edges and corners then become the first weak points.
The substrate must be clean, dry, degreased and stable. Flaking paint must be removed, and a highly uneven surface must be assessed before choosing bonding. On a friable or very textured wall, screwing may be more coherent than direct bonding, provided that the panel and its accessories are designed for that installation method.
Jobsite rule: an adhesive suitable for a panel does not become suitable for a poorly prepared substrate.
Compare adhesives according to panel families
The word “panel” covers products that do not react the same way to adhesive. A flexible covering with an adhesive face, a slatted acoustic panel and a rigid PVC panel with a marble effect do not have the same weight, contact area or tolerance for disassembly.
An integrated adhesive may be suitable for a product designed for quick installation, especially when an adhesive face is provided by the manufacturer. The point to check is not only the presence of the adhesive, but also the condition of the wall. A light dusting is enough to reduce contact, while powdery paint may come off with the covering.
A dedicated adhesive, applied to the back of the panel, is appropriate when the datasheet indicates direct bonding. The distribution must then avoid localized accumulations and allow regular contact. For an adhesive intended for acoustic insulation panels referenced in France, a technical datasheet may indicate a drying time; consult the chosen product documentation for the precise value and associated precautions.
Silicone adhesive can appear on some datasheets for specific coverings. It should not be substituted for a mounting adhesive without validation of the reference. As for screwing, it remains relevant for rigid, heavy panels or panels intended for a substrate that does not allow reliable bonding. It implies locating services, choosing compatible anchors and preserving the visible appearance of the panel.
| Family | Common fastening method | Point to check |
|---|---|---|
| Wood slat acoustic panel with felt | Bonding or screwing according to the datasheet | Wall flatness, panel weight, position of fixing points |
| Panel with adhesive face | Integrated adhesive | Cleanliness, dryness and stability of the surface |
| Flexible wall covering | Adhesive or glue as specified by the reference | Compatibility with the rear face and risk of marking |
| Rigid PVC panel with marble effect | Bonding or screwing according to the product | Rigidity, substrate, edge retention and cutting method |
| Heavy panel or irregular substrate | Screwing or compatible mechanical system | Anchoring, alignment and wall accessibility |
What works less well
The universal adhesive chosen only for its advertised strength can become too rigid, too aggressive or difficult to spread. A double-sided tape used on a panel not designed for this installation method can also create an uneven fixing, with particularly uncertain retention at the edges.
Rigid PVC must not be equated with a slatted acoustic panel. Its look can imitate a mineral or marbled material, but its function and mechanical behavior are different. The buyer must check the exact reference, the indicated fastening method and the compatibility of the adhesive with the rear face.
Prepare the substrate and install the acoustic panel
Successful installation begins before opening the cartridge. The wall must be cleared of dust, greasy marks and areas of paint that lack adhesion. Cleaning and degreasing are not formalities. They determine the quality of the contact between the adhesive, the panel and the substrate.
Check the wall before the adhesive
A painted wall must be rubbed and inspected. If the surface powders, crumbles or shows blisters, bonding must not start at that location. Old glossy paint can also limit adhesion if it is not prepared in accordance with the adhesive recommendations.
Irregularities pose another problem. A hollow leaves a void behind the panel, while a bump concentrates pressure on a small area. The result may appear correct at the time of installation, then deteriorate when the panel works or when the adhesive dries unevenly.
The substrate should then be left clean and dry. The consulted technical documentation insists on cleaning and degreasing before application, because substrate contamination is a direct factor of detachment in the preparation recommendations of a contact adhesive.
Measure, cut and present
The panel must be presented dry before any application. The installer checks levels, alignments, outlets, angles and the direction of the slats. This step avoids discovering, after bonding, that a cut had to be made around an obstacle.
Oak acoustic panels with black felt offered in size 240 × 60 cm and 21 mm require more precise handling and marking than a flexible covering. Length, thickness and rigidity influence how to hold it during installation and how to make cuts. Pink acoustic panels must also be checked on their datasheet before cutting, notably to confirm their structure and intended fixing.
Apply according to the reference
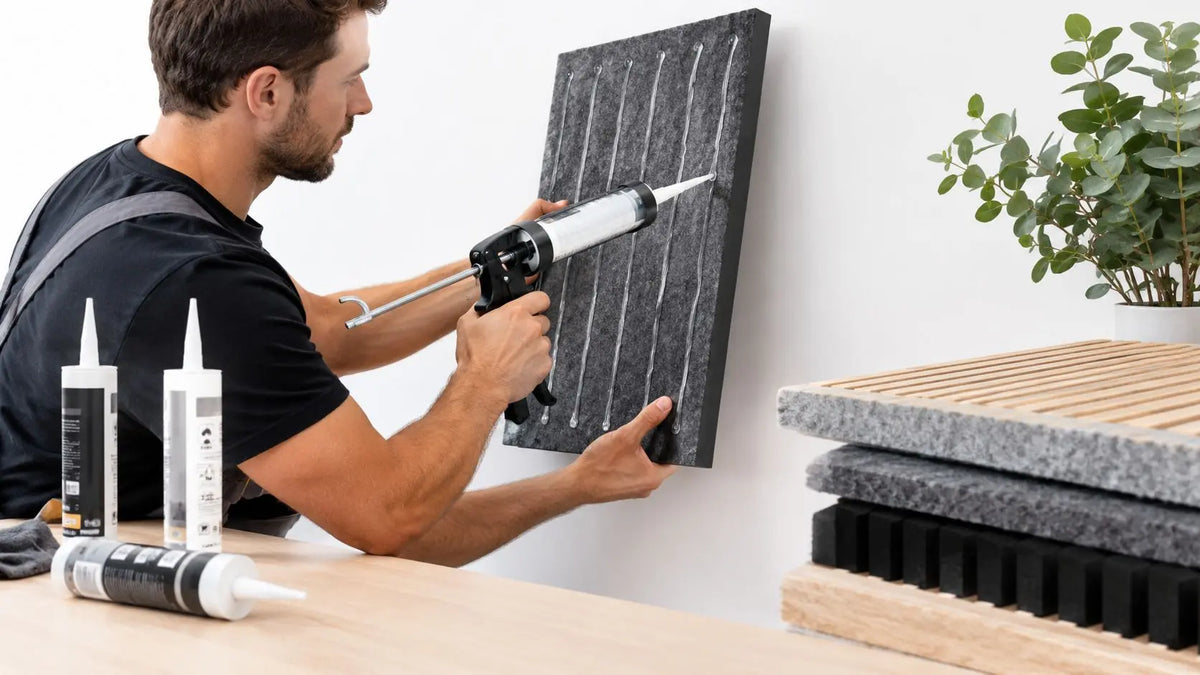
For a bonded installation, the adhesive is spread on the back in accordance with the datasheet. Application only on a few points far from each other creates partial contact. Conversely, overloading near the edges increases the risk of overflow and soiling.
The panel is then positioned on the marks, then pressed progressively from the center towards the edges. This pressure helps obtain a more homogeneous contact. Shims or temporary support may be necessary when the panel tends to slide or when its weight immediately stresses the bond.
For an adhesive product, the protection of the sticky face must be removed at the last moment. The panel must be aligned before the definitive contact, as repositioning becomes more delicate after pressure. For a product to be screwed, mechanical support must follow the reference instructions, with anchors adapted to the wall.
The living room wall panel can help think about integrating the covering into the room, but the choice of fastening remains determined by the exact product and the condition of the substrate.
Points of attention for a durable fixing
A durable fixing results from several coherent decisions, not from a single product presented as universal. The panel, the wall, the installation method and the curing time must work together. If one of these elements is neglected, the adhesive receives a stress it was not selected to bear.
Technical checks not to skip
The first check concerns the nature of the rear face. A felt, porous, smooth or rigid surface does not offer the same contact. The second concerns the wall. A healthy and flat partition does not impose the same precautions as an old painted or irregular substrate.
The datasheet must also be consulted to check:
- The intended fastening method, adhesive, glue, silicone adhesive or screwing.
- Material compatibility, notably between the adhesive and the rear face of the panel.
- Drying or curing time, in order to support the panel long enough.
- Cutting method, especially for rigid or thick panels.
- Indoor usage conditions, when specified by the manufacturer.
Emissions in an indoor space
An adhesive used in a bedroom, a dwelling, an office or a public building should be chosen with care regarding emissions. Emissions of volatile organic compounds from construction and decoration materials are often specified on technical datasheets: favor the information available on the product sheet and ventilate according to the recommendations stated there.
To remember: an acoustic performance advertised for a panel does not replace preparing the substrate, respecting the fastening method, or checking the adhesive emissions.
Deadlines, warranties, availability, delivery fees and return conditions must not be assumed. They must be checked on the product page before ordering, especially for a project planned with multiple references.
Checklist before buying and installing
- Type of panel, confirm whether it is a slatted acoustic panel, a panel with adhesive, a wall covering or a rigid marble-effect PVC.
- Acoustic objective, determine whether the need concerns the absorption of echo in the room, and not sound insulation between two rooms.
- Fastening method, check on the datasheet if the reference is installed by adhesive, glue, silicone adhesive or screwing.
- Condition of the substrate, check dust, grease, flaking paint, apparent moisture and irregularities.
- Surface to cover, measure each wall and take into account doors, windows, sockets and corners. The wall surface calculation guide provides a method for preparing the measurements.
- Format and thickness, record the exact dimensions. The oak acoustic panel exists notably in 240 × 60 cm with a thickness of 21 mm, depending on the indicated reference.
- Quantity per pack, check the number of panels included in the packaging before calculating the coverage.
- Cutting, plan the appropriate tools for the panel structure, without treating a rigid panel like a foam or a flexible covering.
- Support during curing, plan shims, a prop or temporary support if the panel may slip.
- Indoor air quality, look for available information on adhesive emissions and arrange ventilation according to the datasheet.
- After-sales, check the relevant page directly for deadlines, warranty and return conditions, without inferring them from another reference.
The case of the oak and black felt panel illustrates the interest of this list. Its size and thickness require a correctly marked substrate, two-person handling when necessary and a fastening compliant with the datasheet. A pink acoustic panel may call for other precautions depending on its material and installation method. The right decision comes from the exact reference, not only from color or appearance.
Choosing the right adhesive for your acoustic panel
The choice of an adhesive for an acoustic panel must start from the substrate and the rear face of the panel, not from a promise of brute strength. An integrated adhesive, a dedicated glue, a silicone adhesive and screwing respond to different situations. Cleaning, degreasing, paint stability and full contact remain decisive in all bonding cases.
The reader must also clearly separate echo absorption and sound insulation. Collections of acoustic panels, wall coverings and rigid PVC are not installed in the same way, and the datasheet of the chosen product must take precedence over habits formed with another reference. MPDiscount offers these product families as well as adhesives and installation accessories, with characteristics to verify on each page before purchase.
For a concrete project, compare the panel reference, the condition of the wall and the indicated fastening method before ordering. Consult MPDiscount collections and installation accessories at MPDiscount, then prepare the substrate before any application of adhesive.