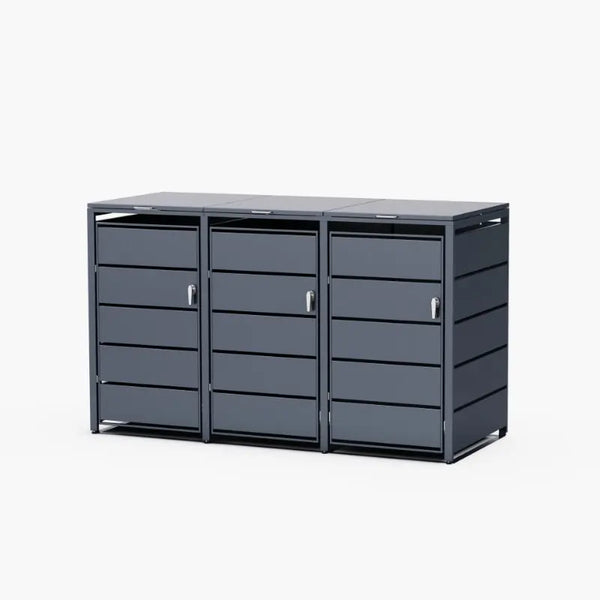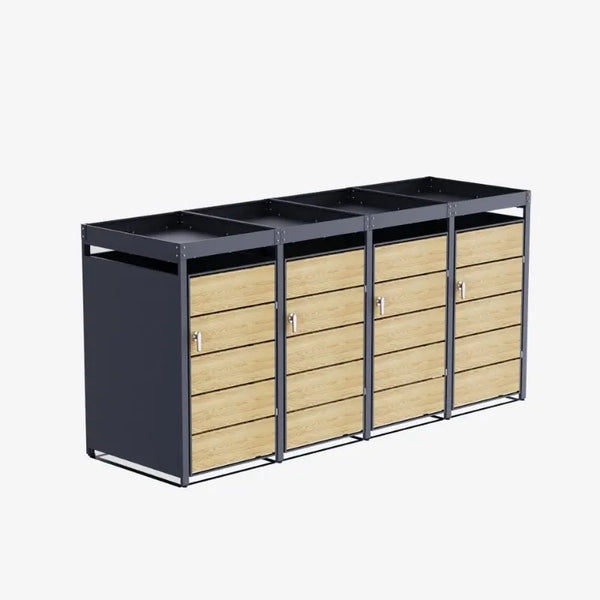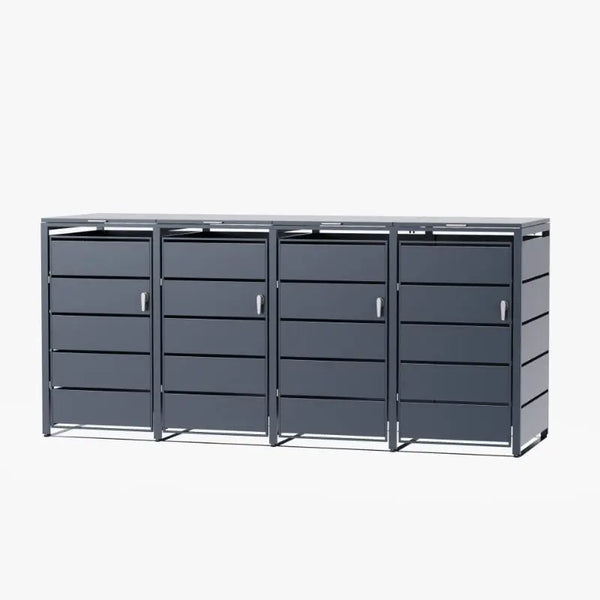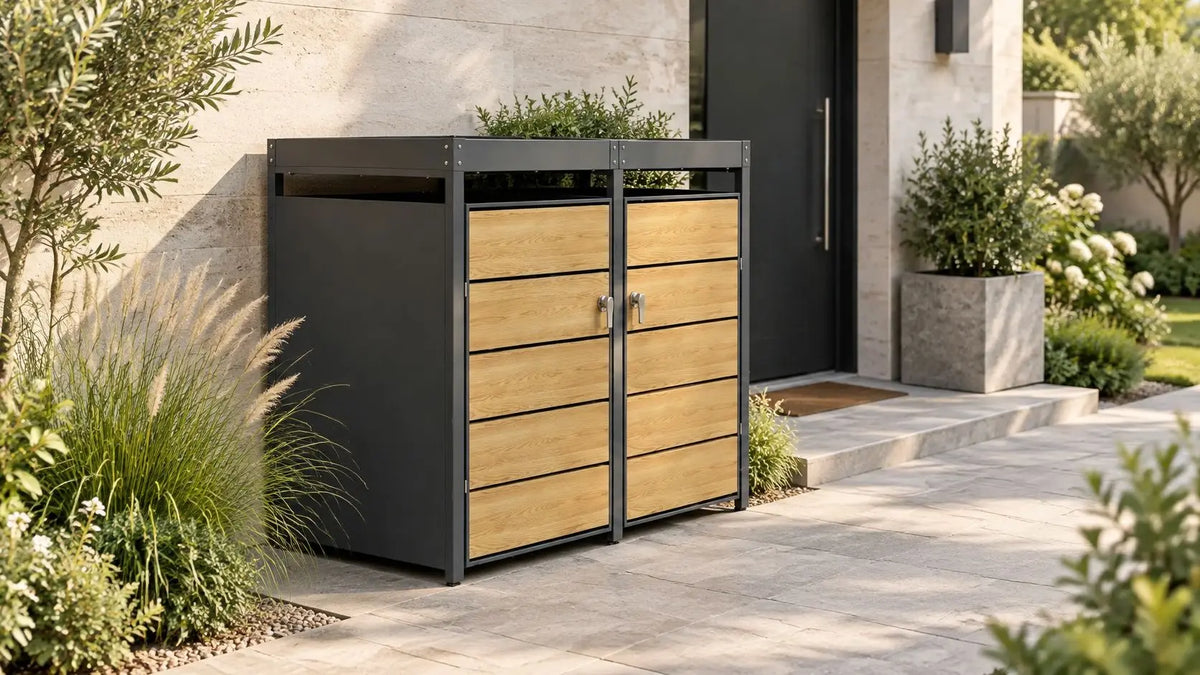
From the entrance, the bins attract the eye while the façade, gate and plantings are well tended. A designer outdoor bin cover can restore order to this ensemble, provided the containers remain as easy to use as taking them out on collection day. Before purchase, the decisive question is therefore simple: will the chosen model be able to accommodate the actual bins, without complicating sorting or cleaning?
Why choose a designer outdoor bin cover
In a narrow entrance, moving the bins behind a bed sometimes seems sufficient. But if this move requires crossing the lawn with a heavy bin, the arrangement becomes awkward. A cladding placed on the bins’ usual route often provides a more practical solution than a distant hiding place.
Household and similar waste collected occupy a lasting place in residential layout; their location deserves as much attention as a garden storage.
An aesthetic enclosure, not a new collection system
The cover surrounds the container without replacing its function. Its value is judged on concrete results:
- Conceal the bins from the entrance, the terrace or the windows.
- Harmonize their presence with the décor thanks to a colour or finish coherent with the property.
- Define the waste area to prevent the containers from gradually obstructing the passage.
The limit must remain clear: a cover does not change collection. Containers must still be taken out when the local service requires it, and the cladding must not make this operation more difficult.
A successful shelter is discreet in the landscape, but never becomes an obstacle in the bin’s route.
The choice therefore does not start with colour. It starts with observing the path between storage and the presentation point, then comparing dimensions, openings and materials.
Size the cover according to your bins and local sorting
A well-sized cover allows the bins to be taken out and access to their lids without moving the other containers. Before choosing a model, measure the bins in situ and check the path to the collection point.
Take measurements under actual use conditions
Count the containers actually stored, then measure each of them: maximum width, depth with handles and height. Also check the lid swing. To test removal, mark the location on the ground and roll the bin to the available passage, taking into account its wheels and the space needed to turn it.
The guide to choosing the size of a bin cover on MPDiscount helps compare your measurements with those of the intended reference (see MPDiscount related articles).
Available bin cover configurations
| Configuration | Capacity indicated | Dimensions | Check to perform |
|---|---|---|---|
| Shelter for 2 bins of 240 L | 2 bins of 240 L | See the product sheet | Check space to open the doors and remove each bin |
| Shelter for 4 bins of 240 L | 4 bins of 240 L | See the product sheet | Provide suitable access for each bin and its exit path |
Check the local solution for biowaste
Sorting rules and collection methods vary by municipality. Check official information and the local regulations before planning a place for biowaste: composting or voluntary drop-off can avoid storing an additional bin.
Also keep sorting instructions and markers visible. A shelter that hides them or blocks access to the containers complicates sorting and bin removal.
Compare contemporary, minimalist and natural styles
Outdoor bin cover styles and their markers
| Style | Lines and shapes | Colours | Materials and details | Watchpoint |
|---|---|---|---|---|
| Contemporary | Crisp angles, clear volumes, horizontal lines | Anthracite; black only if confirmed on the reference | Powder-coated metal; aluminium and stainless fasteners only when the sheet specifies them | May jar with a traditional façade |
| Minimalist | Simple volume, few visible details | Solid tint matched to the joinery; white or cream only if offered | Uniform surface, carefully positioned fixings | May seem austere in a very flowery garden |
| Natural | Softened visual composition, integration into the garden | Oak wood effect for the corresponding references | Galvanized steel with powder coating, UV-printed wood imitation (when the product sheet indicates it) | Colour must be matched with existing wood |
The style must respond to the gate, fences and façade, not just a catalogue photograph. A shelter seen alone on a white background often appears more discreet than once installed between textured render, a downpipe and a differently coloured fence.
Contemporary structures an entrance
Clean lines work well when the house already has dark joinery or a rectilinear gate. Anthracite can extend these elements in front of a light render without adding a new dominant colour.
Minimalist depends greatly on its location
A solid surface limits visible details. But it also highlights poor alignment: a box placed crooked, an irregular base or mismatched accessories become immediately noticeable.
Natural requires a tone match
The wood effect fits particularly well near a pergola or wooden fence. However, you must compare shades: a warm oak imitation can strongly contrast with an exterior wood that has turned grey.
Visual cue: a colour already present on the property generally yields a more coherent ensemble than a finish chosen in isolation.
The method for integrating an outdoor cover with the façade (see MPDiscount advice) also helps examine alignments and contrasts. It does not replace the constraints specific to bins, but provides a useful reading of volumes.
To avoid a busy composition, it is better to limit competing colours around the cover and reuse an existing shade. Vegetation should accompany the cladding, not serve to hide a poor match.
Materials and finishes — precautions and checks
An unsuitable or poorly maintained finish can complicate everyday life if the surface soils easily or if its condition deteriorates outdoors. Treatments and materials differ by reference: do not generalise. Check the product sheet of the exact reference to confirm material, treatment and fasteners.
Some product sheets indicate “galvanized steel with powder-coated finish” and a wood-effect panel; others specify “powder-coated aluminium” with stainless fasteners. Compare these mentions to your site’s exposure conditions (sea-side, humidity, etc.) and to the manufacturer’s maintenance instructions.
Materials and finishes: maintenance and checkpoints
| Material or finish | Maintenance | Checkpoint |
|---|---|---|
| Powder-coated aluminium | Gentle cleaning suitable for the surface | Avoid abrasive products or tools that can scratch the coating |
| Galvanized steel | Gentle cleaning suitable for the surface | Check the condition of surfaces and assemblies |
| Wood-effect décor on metal | Follow the maintenance instructions for the finish on the product sheet | Confirm compatible cleaning products on the product sheet |
A decor printed on metal is cleaned like metal: do not apply oil or stain without manufacturer guidance. For the bins, maintenance must remain simple and not slow down collection. Avoid accessories or products that may leave marks on the finish, and check that the doors always allow containers to be removed without snagging.
Install, maintain and position the cover safely
Installation starts with the support, not with assembling the panels. A surface that sinks or a placement at a low point can make doors hard to adjust and complicate moving containers.
Installation methods and checkpoints
| Installation method | Method | Checkpoint |
|---|---|---|
| Wall attachment | Fixings specified in the instructions, drilling a load-bearing support when this mode is planned | No utilities in the drilling area |
| Ground stabilization | Flat slab, anchoring or ballasting only as stated in the instructions | Stable ground, without water accumulation |
| Flat-pack assembly | Assembly preferably by two, following the instructions | All parts present before starting |
| Placement | Clearance from building openings and heat sources | Free ventilation and unobstructed passage |
A controlled installation before final tightening
- Position the assembly dry. Mark its footprint and present the bins before drilling.
- Check level and plumb. Adjust the support rather than forcing the panels to compensate for an irregularity.
- Assemble then stabilize. Use fixings adapted to the support and the intended system, without improvising a ballast that would hinder the wheels.
- Test every movement. Check doors, lids and any assistance mechanisms before final tightening.
The MPDiscount guide to facilitate access and opening of a bin cover daily helps prepare this functional test.
Hazardous waste does not belong in a simple domestic shelter. Storage prescriptions depend on their nature and quantity. Solvents, batteries or comparable products must follow their adapted channels, not join ordinary bins behind decorative cladding.
A routine after collection and at seasonal changes
After bin removal, remove fallen waste and check that nothing blocks thresholds. At seasonal changes, clear leaves, inspect hinges and check handles as well as the tightening of fixings, particularly after a windy episode.
A persistent odour, condensation or a lid that closes poorly justify immediate inspection, not the addition of a fragrance.
Container cleaning, ventilation and adjustment of openings must then be examined separately. Closing the shelter more tightly to hide the problem will only complicate its resolution.
Selection criteria, condominium rules and checks before ordering
In a shared courtyard, a cover can be neat and still hinder collection if it blocks access to the bins or hides sorting instructions. The right choice accounts for three uses: taking out the containers, cleaning them and keeping the location accessible.
Read the sheet without letting it say more than it does
Before ordering, check the model’s characteristics for the bins:
- Ventilation: openings remain clear once the cover is installed, not blocked by a wall, plants or objects.
- Access and maintenance: doors or panels allow removal of bins and cleaning of the bottom and corners.
- Stability: the instructions indicate how to fix or stabilize the cover.
- Finish: instructions specify permitted maintenance and what to do in case of a scratch.
- Equipment: the instructions detail the kit contents and conditions applicable to the reference.
The best compromise combines discretion, air circulation and practical access. A closed façade can better hide the bins, but becomes constraining if it prevents reading sorting instructions or complicates cleaning. Favor an opening adapted to collection gestures rather than a decorative detail that hinders use.
In a condominium, validate the location before purchase
The bin room is a common area. Bins must be placed as far as possible from doors and windows according to local rules. To install a cladding in a shared courtyard, consult the property manager, check the condominium rules and request the required agreement.
Also specify who cleans the location, who takes out the bins and who keeps access to closing devices. If a room causes nuisances or does not comply with applicable rules, the municipal hygiene service can be contacted.
Checks before ordering
- Containers: note the dimensions and number of bins.
- Collection: check local sorting rules and access to the bins on collection day.
- Location: check passages, openings and the space needed for cleaning.
- Appearance: choose a finish coherent with the façade and the garden.
- Rules: confirm necessary authorizations in the condominium.
- Order: consult the instructions, the fixings provided and the product sheet indications for the exact reference.
Short excerpt: choose a designer outdoor bin cover that matches the décor while keeping the bins accessible for sorting, collection and maintenance.
MPDiscount offers bin covers to furnish outdoor spaces and integrate containers into the décor. Before purchase, compare the model’s dimensions to the bin measurements and consult its instructions as well as its product sheet on MPDiscount. Examples of MPDiscount references (consult the product sheet for dimensions and kit contents): shelter 2×240 L, 3×240 L, 4×240 L.